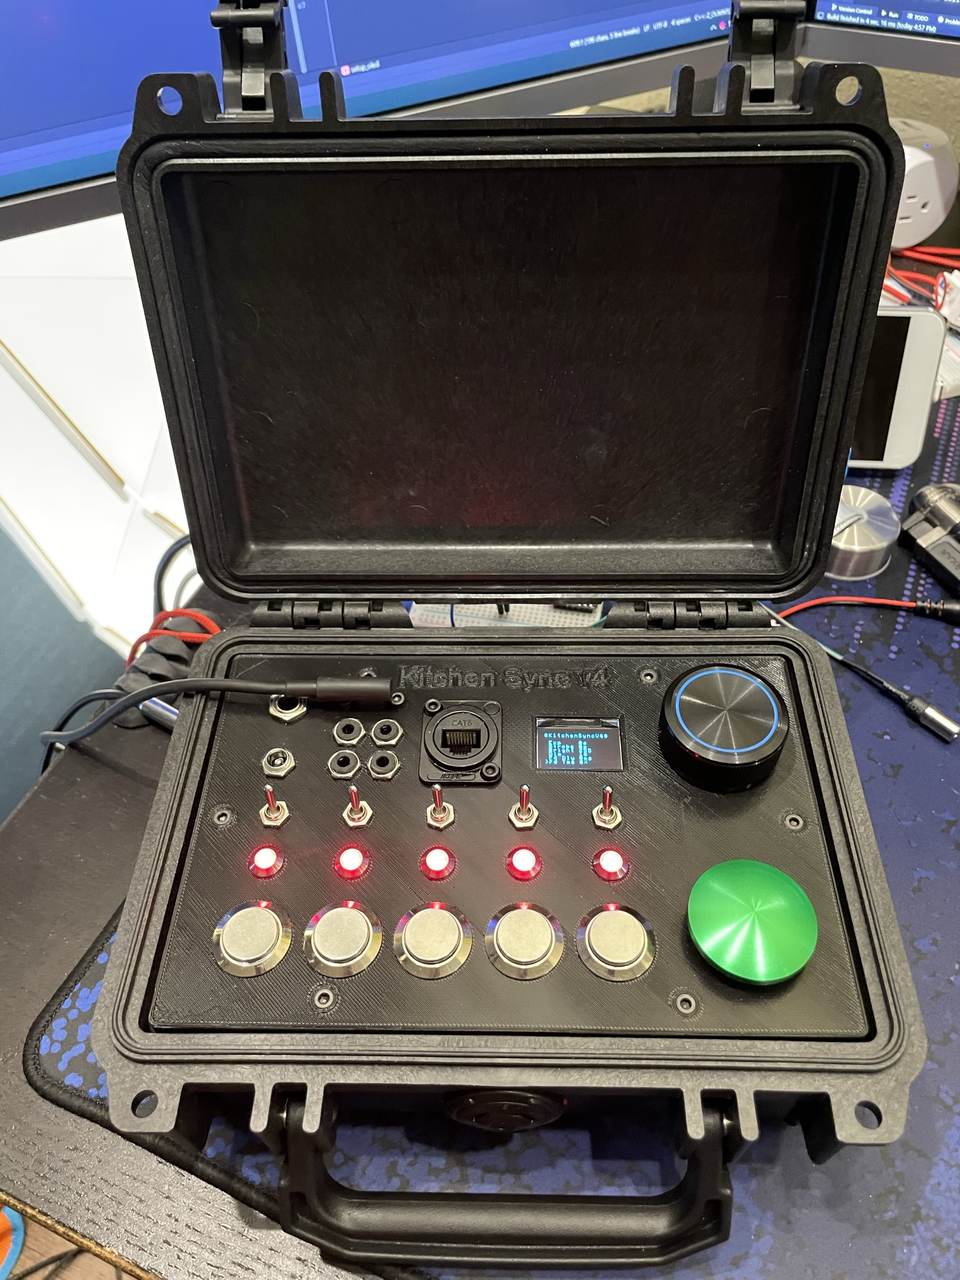
I started this project with a camera trigger, a cup of bubble soap, and a bubble wand. That is three things and I have two hands.
It did not get better from there. By the end, one photograph of a soap bubble trail meant a whole sequence landing inside about five seconds, in order, repeatably, in the dark: launch the bubbles, wait for them to reach the right place, open the shutter, fade a light across the exposure, fire a strobe at the right instant on the right curtain, close the shutter, and go again.
That is a timing problem more than a photography one, so I built a machine to do it and pressed a foot pedal instead.
What it does
One press runs the whole sequence. Optocouplers fire the camera and the strobes, and DMX512 drives the tube lights and the bubble machine. Everything is a number in an OLED menu, saved to flash: exposure length, pre roll, fade delay, fade time, start and end hue, strobe curtain and offset, bubbler fan and motor speed, and how many times to repeat.
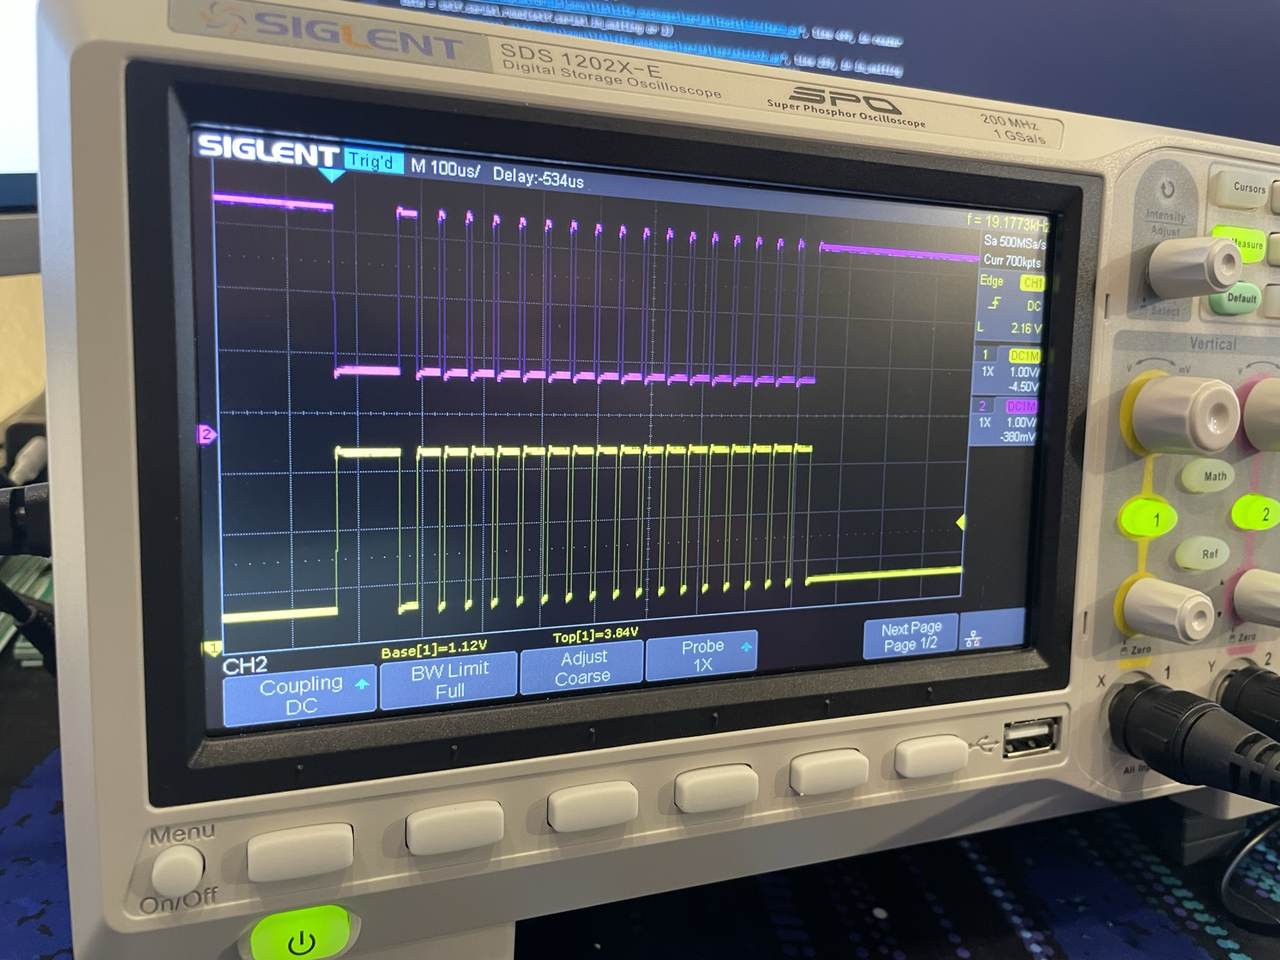
The part I am proudest of is the calibration. A light fade has to finish exactly when the shutter closes, but how long a DMX frame takes to write depends on the board the firmware happens to be running on. So it measures itself: a routine times a real frame write, stores the number, and the shoot sequence works backward from it to size the fade. The same firmware lands the fade correctly on a SAMD21, an RP2040 or an ESP32 without anybody retuning anything.
Four versions, three funerals
V1 figured out the thing everything else is built on: you can trigger a camera from a microcontroller through an optocoupler, so the two circuits share no electrical connection at all, just a tiny LED shining at a phototransistor inside a black package. It could fire a handful of things at once. Then I fried it. Everybody who works with electronics started at the beginning.
V2 added a menu, a rotary encoder, five triggers and my first addressable LED strip. Then I fried it. Gotta learn somehow.
V3 was the real architectural step. I moved everything onto an MCP23017, an I2C chip that turns two pins into sixteen, which is what makes a tiny microcontroller able to run a panel full of buttons, switches, indicator lights and optocouplers. Then I fried it too. Nobody’s perfect.
I never definitively diagnosed any of the three. I was new to electronics, they were hand built, and something on the controller side let the smoke out each time. Smells like Shenzhen spirit. What I did do, from the beginning, was put optocouplers between the rig and the camera specifically because I did not trust myself. I knew not to risk an expensive camera on my own inexperience. Three controllers died and the camera never did, which I still think is the most useful engineering instinct I have: isolate the irreplaceable thing from the experimental thing.
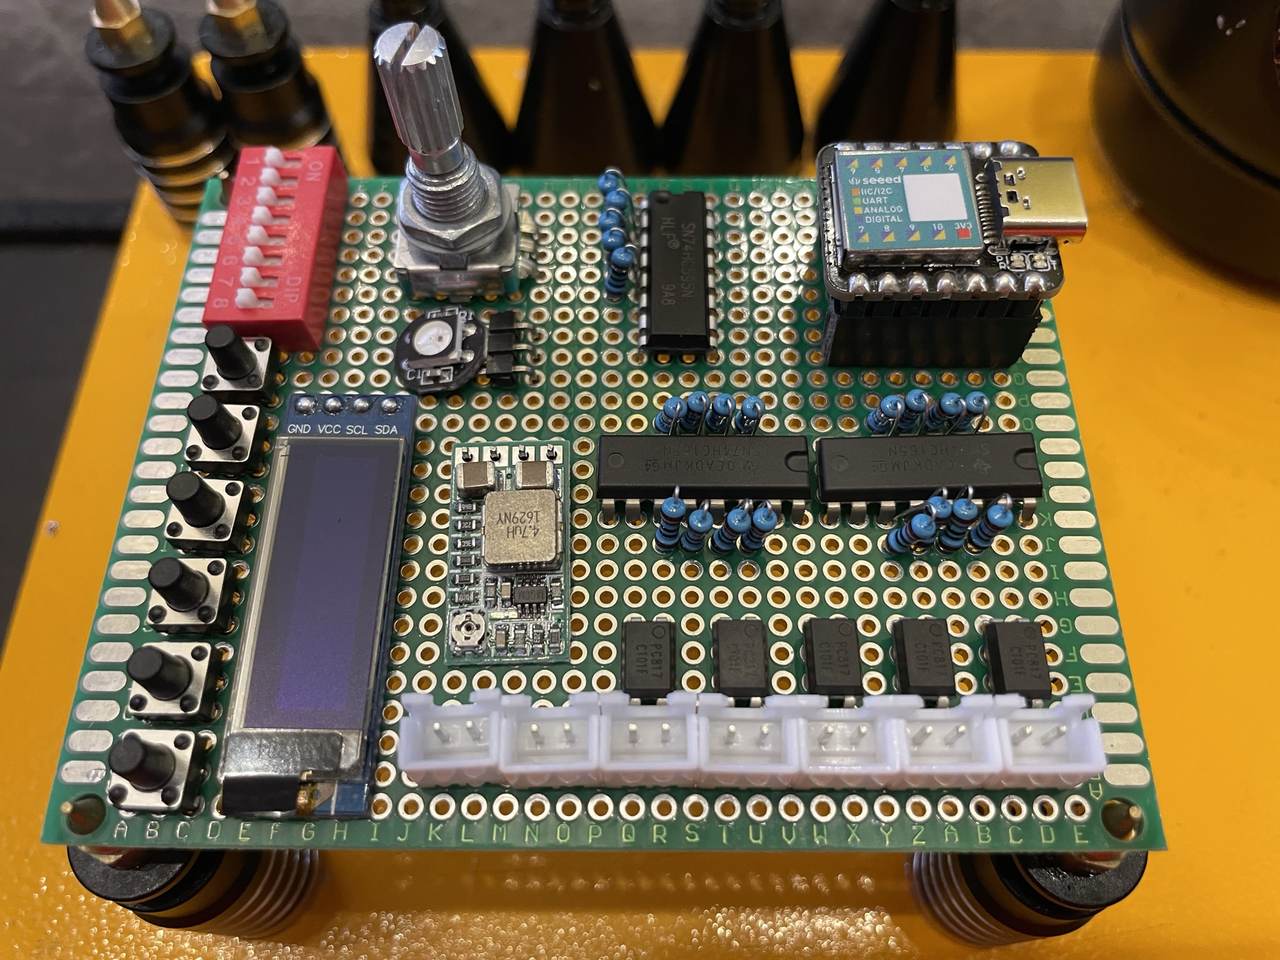
V3 era. Hand soldered perfboard, DIP chips in sockets, and a lot of jumper wire.
V4 is the one that worked, and it worked because it stopped trying to be a light. Driving LED strips directly is fiddly and dim. DMX512 is the protocol stage lighting has used for forty years, it runs over RS-485, and it means a $30 transceiver lets a Seeed Xiao command professional lights that are far better than anything I would build. The rig stopped being a light source and became a conductor.
That pivot is what made everything else possible. The bubble machine became a DMX fixture too, so bubbles and light and shutter all take orders from the same clock.
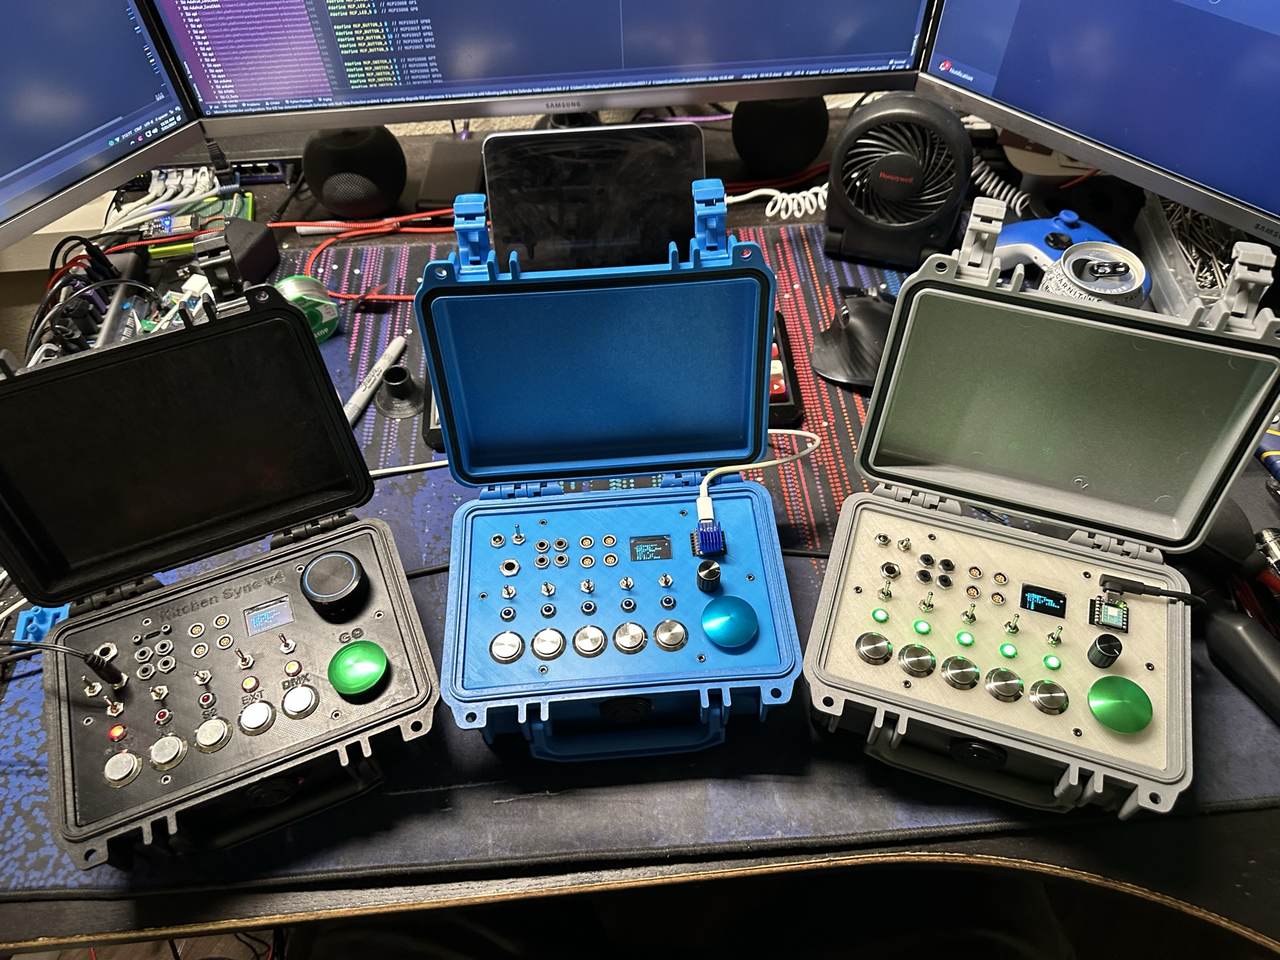
Three of them. The stackable idea, which never quite made it to production.
The build
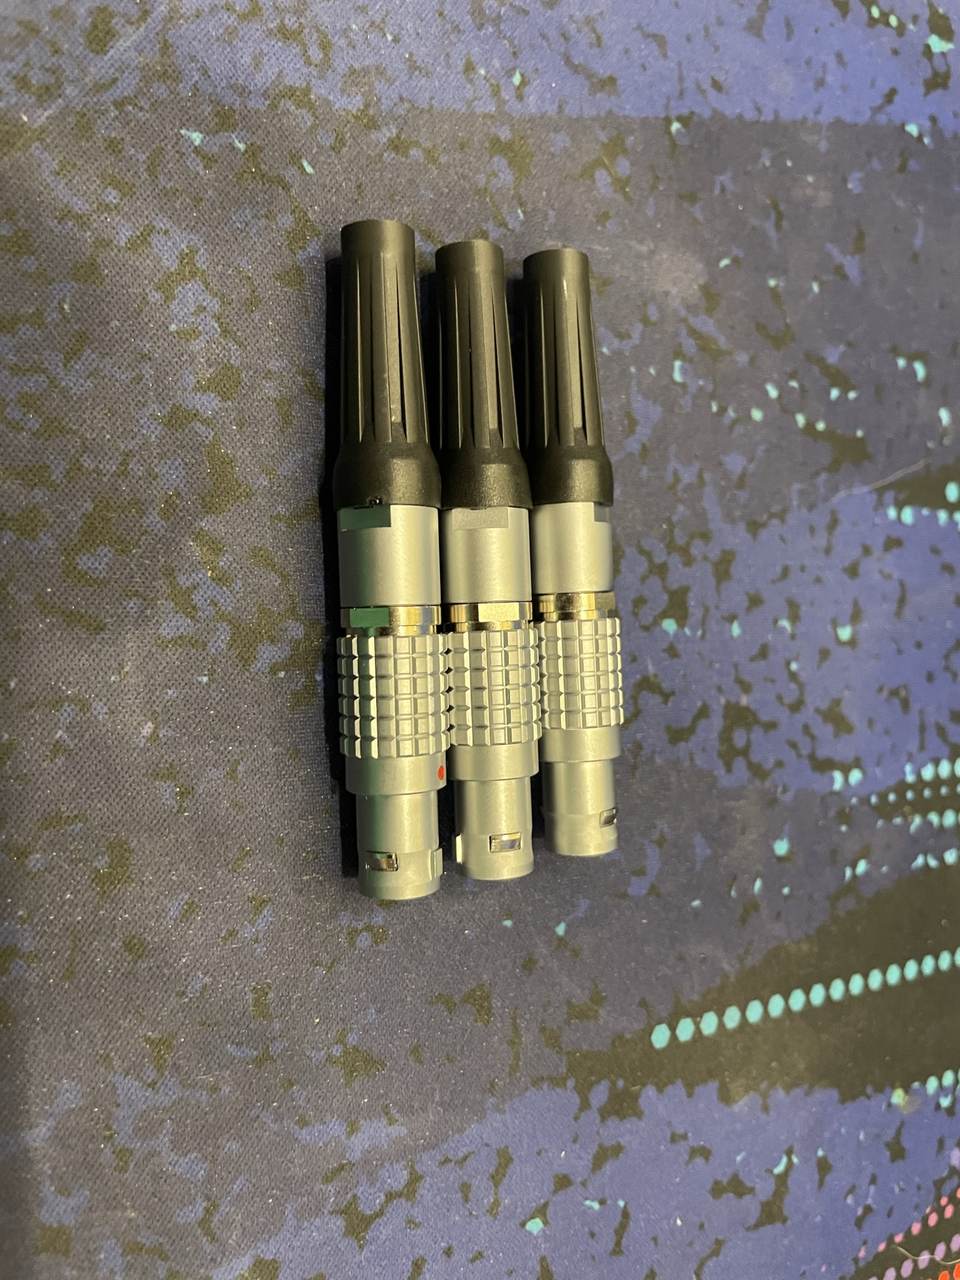
It lives in a Pelican 1120 case with a 3D printed panel, so the whole rig closes up and travels. Later panels got engraved. The connectors are LEMO push pulls, which are absurd for a hobby project and correct anyway, because the alternative is a cable working loose in the dark halfway through a session.
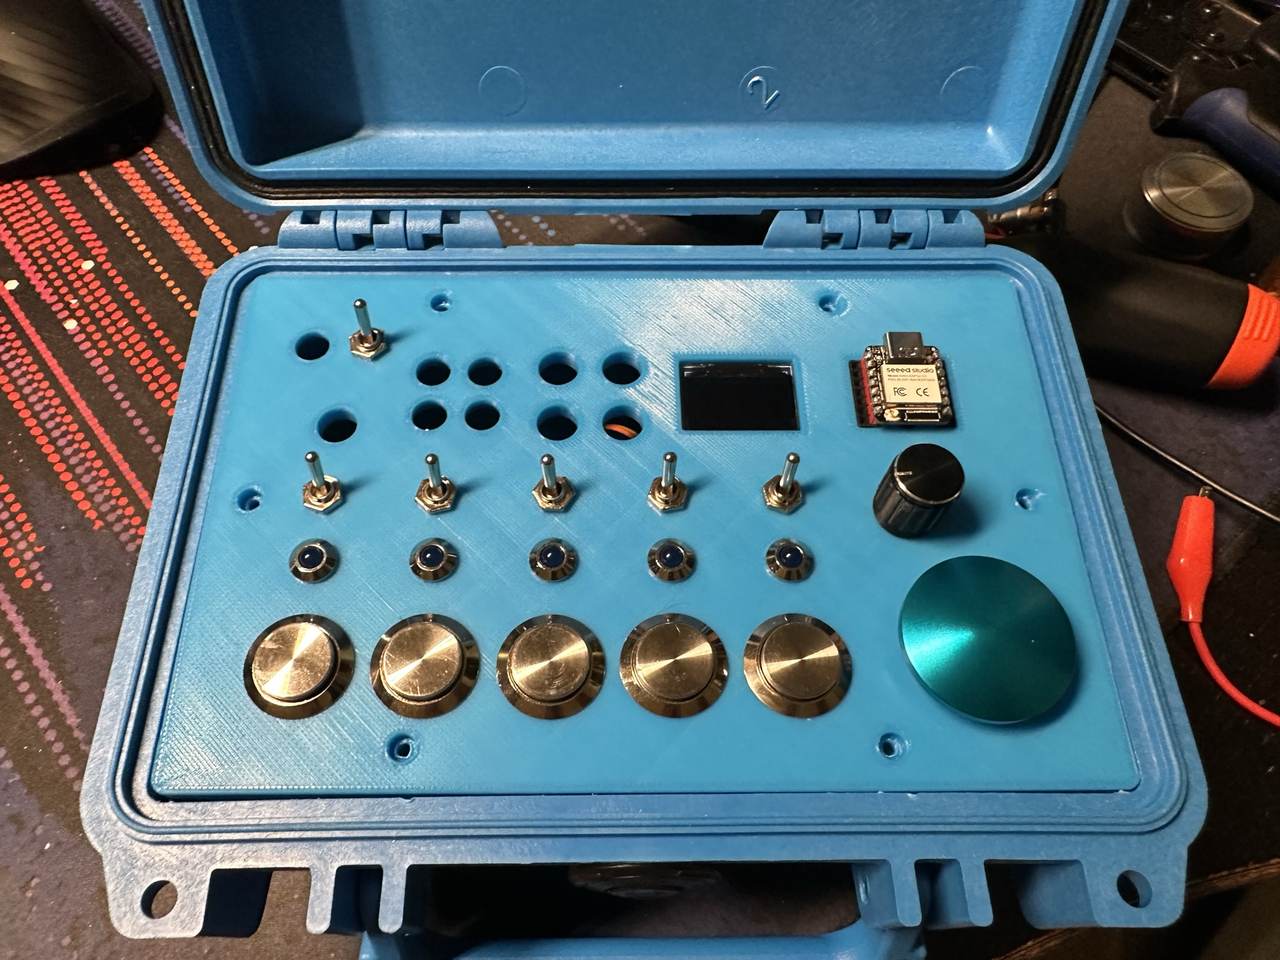
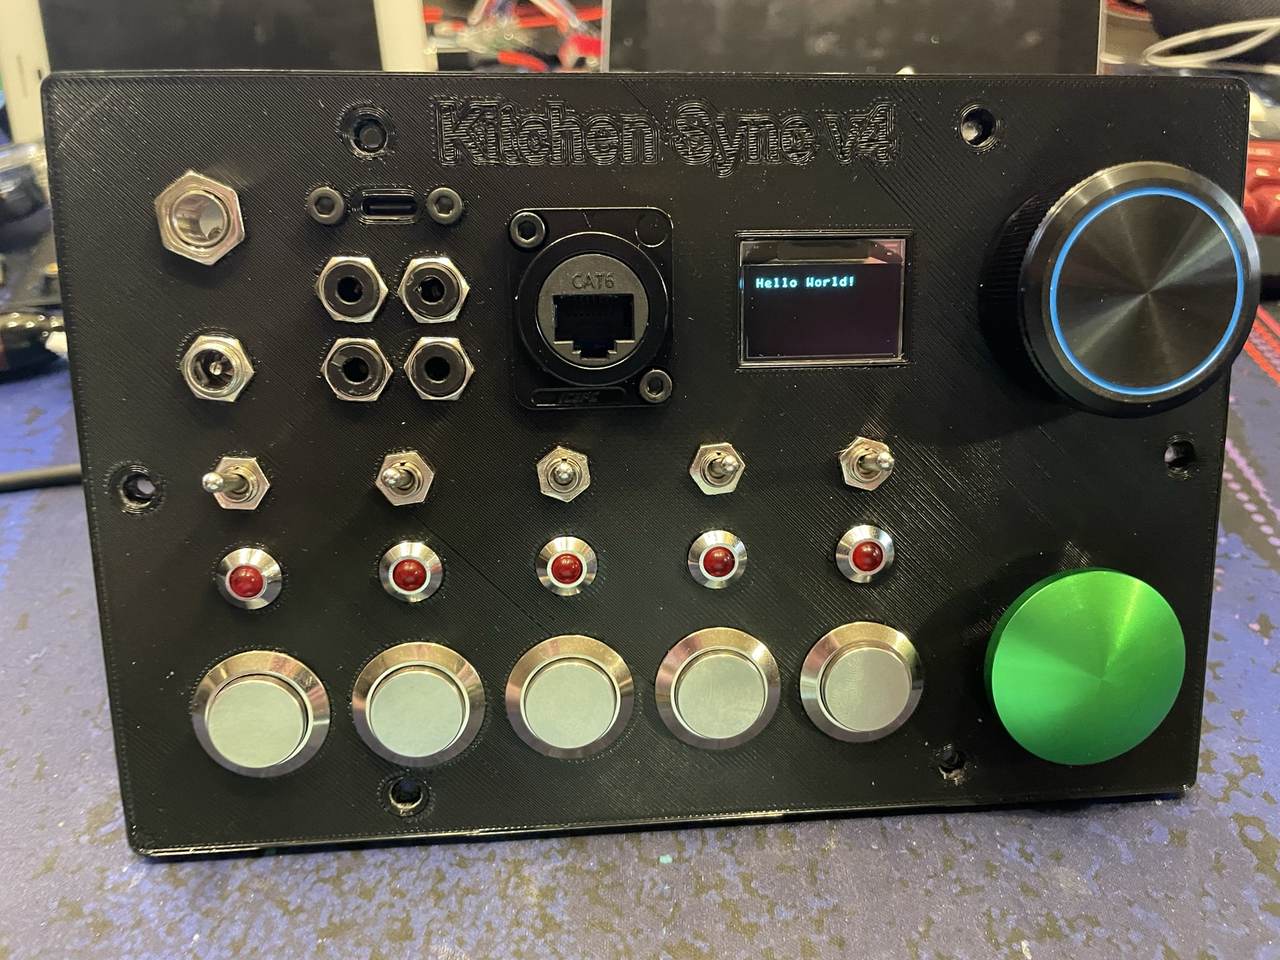
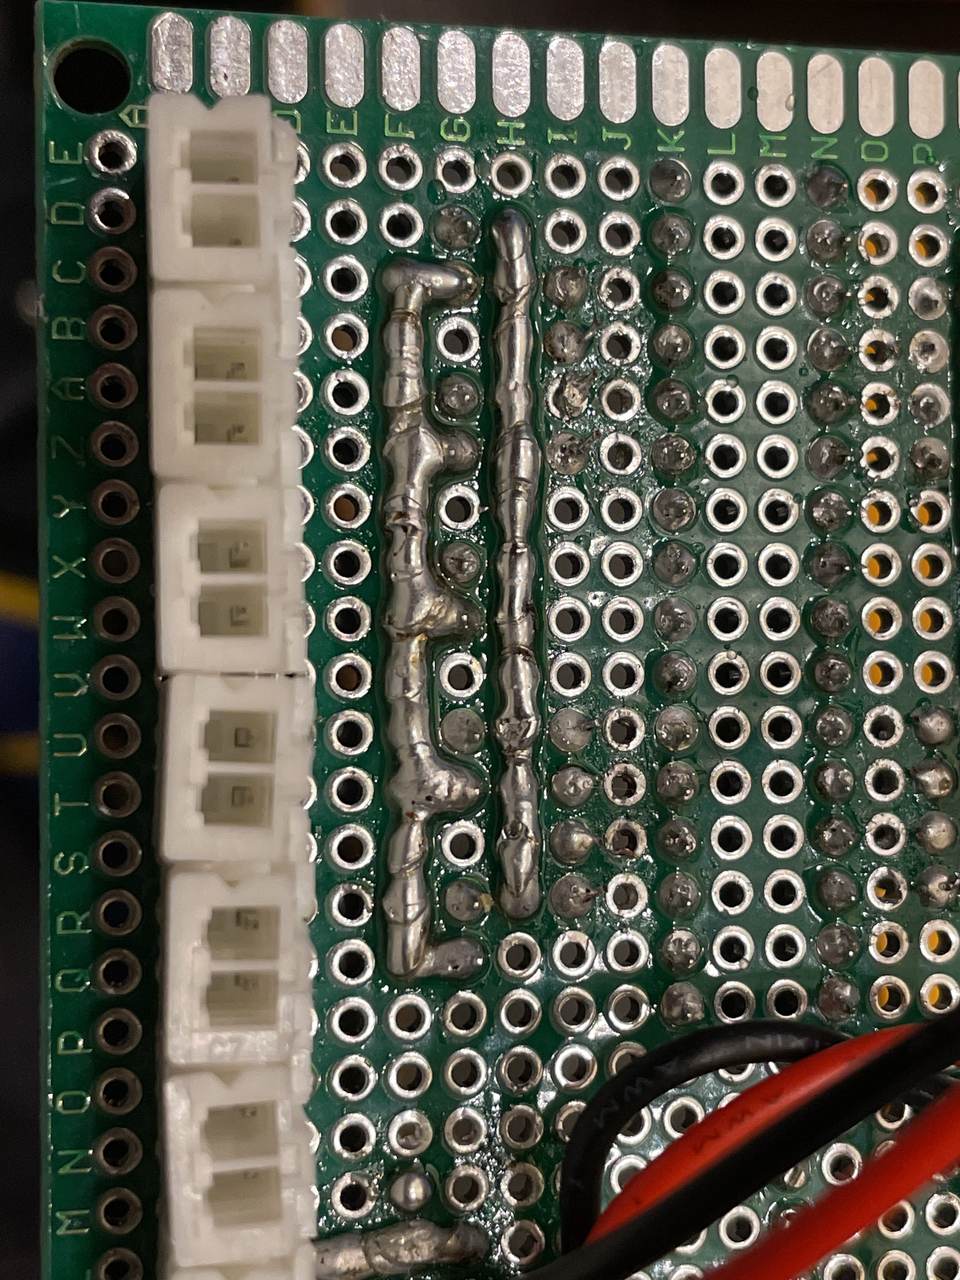
Inside: a Seeeduino Xiao ESP32-S3, an MCP23017 and an MCP23008 fanning out to five buttons, five toggles and five indicator LEDs, four PC817 optocouplers for the camera and strobes, a MAX485 transceiver for DMX, and an SSD1306 screen. There is also a lot of perfboard, and it was not a stopgap. Perfboard is how I prototyped the whole thing while I was still working out what it needed to be. The KiCad board came afterward, and I drew it mostly as an excuse to teach myself how to design PCBs.
Triggering is a foot pedal, a button on the box, or an Xbox controller over Bluetooth. The controller sticks drive hue and saturation live, so I could stand across the room and paint with color while watching the bubbles instead of the rig.
What it turned into
The firmware is about 3,500 lines and builds for nine different boards from one codebase, with the pin maps and feature flags in a header and a persistence layer that swaps between SAMD flash, ESP32 preferences and RP2040 EEPROM behind one macro. It has a reusable OLED menu framework and a DMX fixture library where you say SetHue instead of writing to channel 43.
None of that was the goal. The goal was photographs. Getting there meant learning to read a datasheet, drive a scope and design a board, and those are the skills that led me to be able to work with Mixim. Then Eurorack work.
The photography is paused. The soldering iron never went back in the drawer.